Latest on ACTIVE
-
-
-
-

-
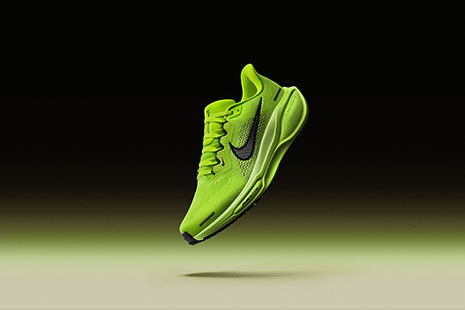
Nike Pegasus 41 Gives Runners More Energy Return
15 Days Ago
Find local events and things you love to do
Latest on ACTIVE
-
-
-
-
-
Nike Pegasus 41 Gives Runners More Energy Return
15 Days Ago
Activities near
Everywhere
EXPERT REVIEWS

The 11 Best Mattresses for Athletes
SEE THEM ALLWhether you're a marathon runner or a golfer, these mattresses will help you get the quality sleep needed to perform at your peak.
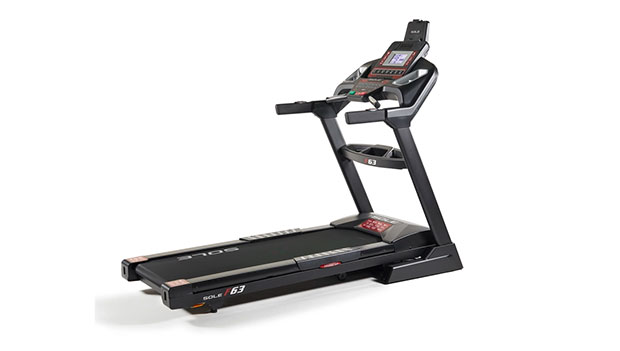
The 7 Best Treadmills Under $1,000
SEE THEM ALLFor less than $1,000, you can find treadmills with a great variety of basic yet notable features.
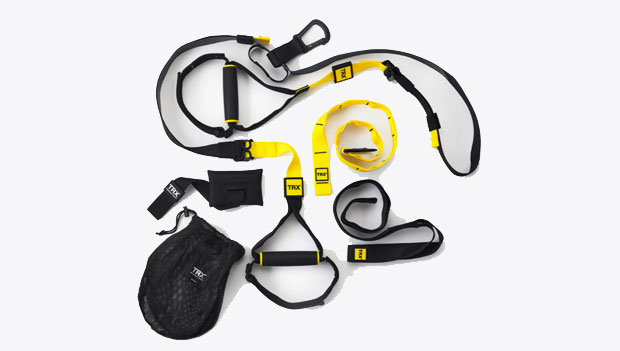
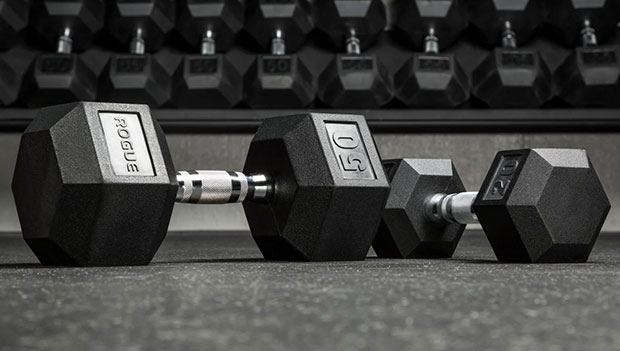
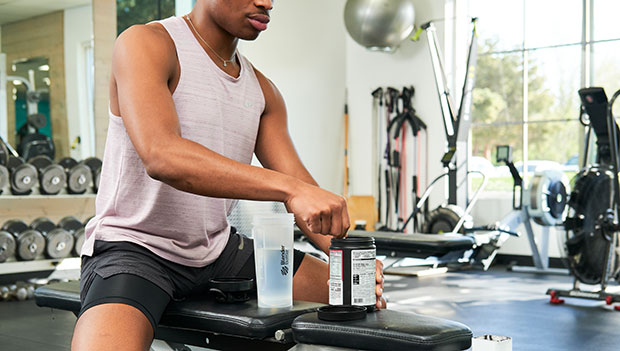
The 14 Best Pieces of Home Workout Equipment
SEE THEM ALLWe did the heavy lifting by finding the best products available that will help you create the most versatile and effective workout space possible.