
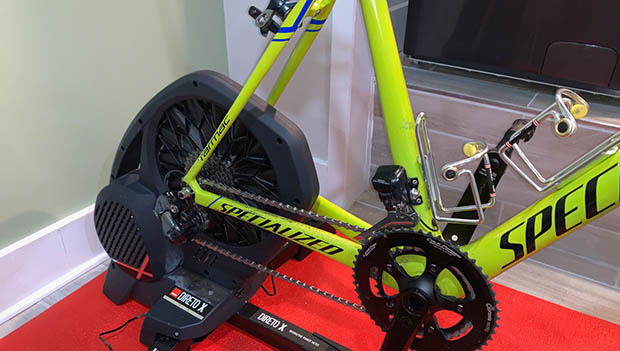
One of the easiest home maintenance tasks is swapping out brake pads. Whether you need to replace worn pads or swap pads when you put on your race wheels, you can complete this maintenance task in less than 10 minutes. Using a home bike work stand will make maintenance a lot easier, but if you don't have one, no biggie: Use your stationary trainer or flip your bike upside-down and carefully rest it on the saddle and brake lever hoods instead.
Selecting Replacement Pads
Before replacing your rim brake pads, check with the wheel manufacturer's website to determine the best type of pad for your specific wheel. If you will be replacing disc brake pads, match the pad to the brake manufacturer.

How and When to Swap
You can determine if pads need to be replaced by if they have been worn away to the wear-indication line (see step six below).If you're swapping between different wheelsets and one set has an aluminum brake track while another has a carbon brake track, you'll need to swap brake pads every time you swap between wheels. Never use the same set of brake pads for aluminum wheels as for carbon wheels as they won't provide effective grip and any metal bits from aluminum rims, which could have become embedded in the pads, will shred a carbon braking surface.
Remove Wheel
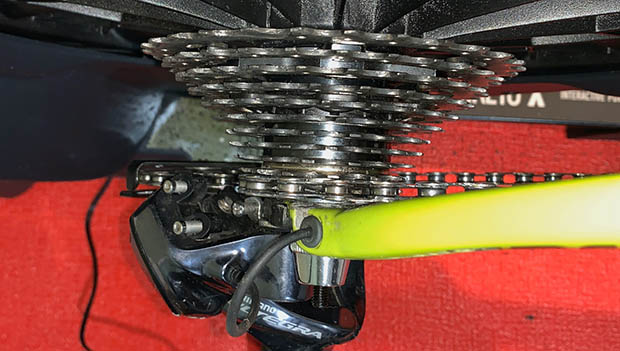
We find that servicing one wheel at a time is easiest. Shift your gears to the smallest cog in back--this will make it easy to remove and replace your rear wheel--remove the rear wheel and set it aside. If you're using your indoor trainer as a work stand and it requires you to keep your rear wheel on, you'll need to remove your bike from the trainer and flip it upside down.
Loosen Retention Bolts
Each pad has a retaining bolt. You'll need a Phillips head screwdriver or a 2.5 mm hex wrench to loosen them. Back out bolts only a few turns, just enough to retract them from the brake pad, but do not remove them from the brake shoe.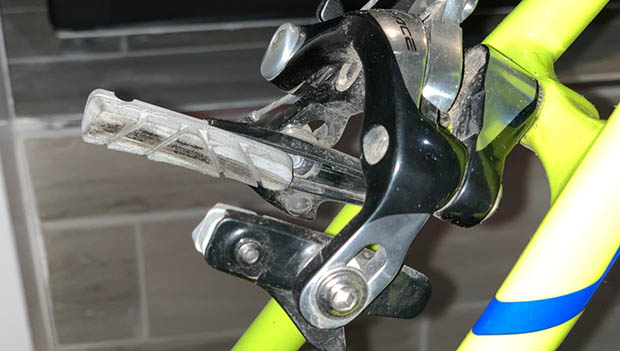
Pull Pad
Slide the brake pads out of the brake shoes.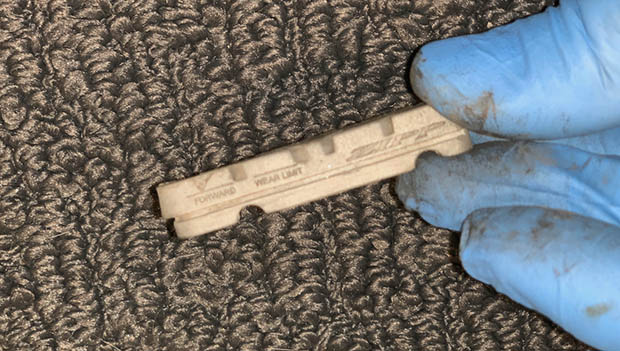
Inspect for Irregularities
After removing pads, inspect them for irregularities and wear. Pads should be replaced if they have been worn to the siping (grooves in pad surface). Some bike components brands also have wear indicators to make determining pad wear easy.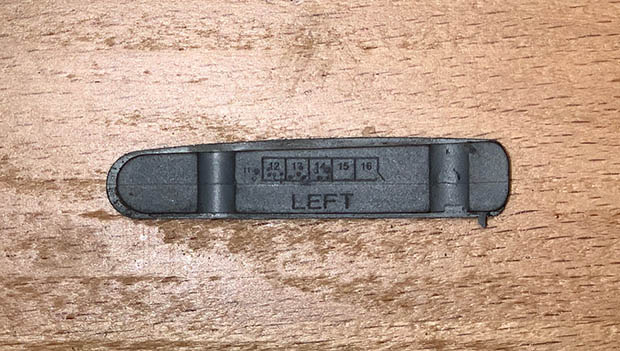
Insert Fresh Pads
Slide the pad replacements into the brake shoes. Take careful note as to which pad inserts into which brake shoe. Pads are side-specific and are always marked left or right.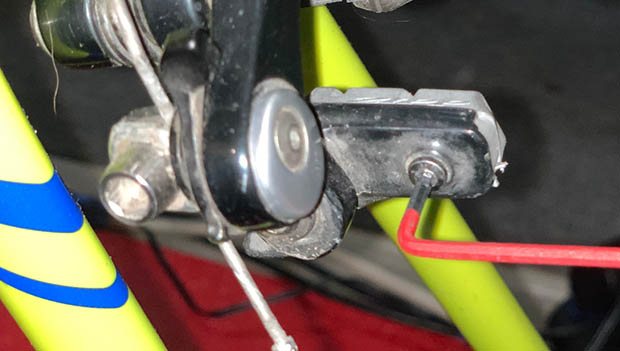
Secure Anchor Bolts
Tighten the anchor bolts into the new brake pads; you do not need to put a lot of force on these anchor screws. Brake pads fit into brake shoes in the same direction your wheels rotate while riding, so pads cannot come out while you're braking.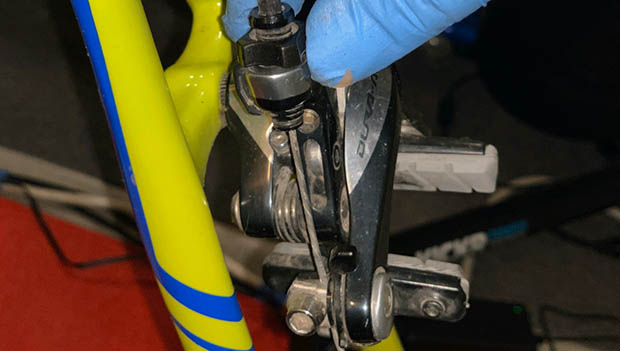
Provide Additional Slack in Brake Cable
Adjust the gap between the new pads and the braking surface using the barrel adjuster. With new pads, you may have to wind it all the way in to create more space between the new, taller pad and your bike wheel.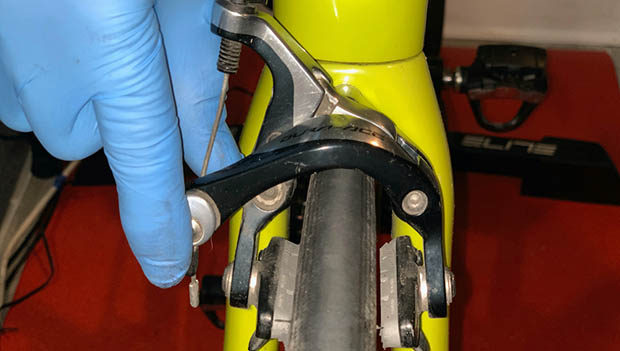
Repeat the Process
After you place your rear wheel, secure it to your bike. Repeat the above steps with your other wheel.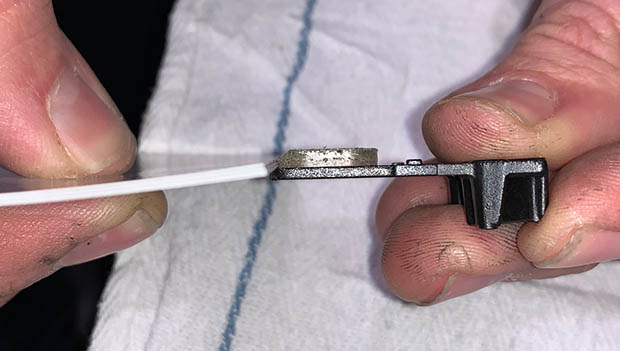
Disc Brake Pads
If you have disc brakes, you'll know it's time swap pads when they have worn down to about 0.5 mm--about the thickness of two stacked business cards. Nick Goode of Cadence Cycling Centers in Philadelphia says a tell-tale indicator of when it's time to replace pads is your brakes squeal every time they're used.Pro Tip: If you have hydraulic disc brakes, avoid turning your bike upside-down. Use a work stand or indoor cycling trainer to mount your bike for servicing.
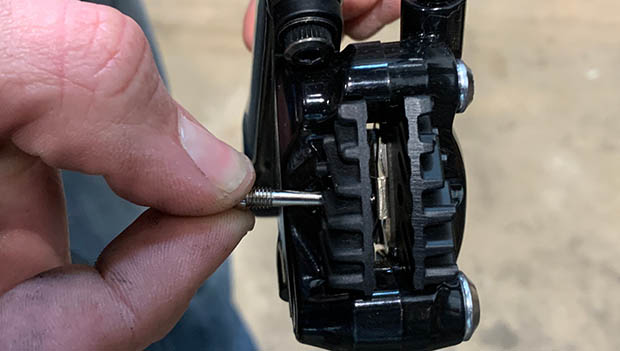
Loosen the Pad Retaining Bolts
If you have Shimano brakes, you'll need to remove a retaining clip at the end of the bolt closest to the wheel before you remove the retaining bolt. Use a flathead screwdriver or a 2.5 mm hex wrench to loosen the pad anchor bolt. Once you've removed the fastener, remove the brake pads with the spring clip between pads.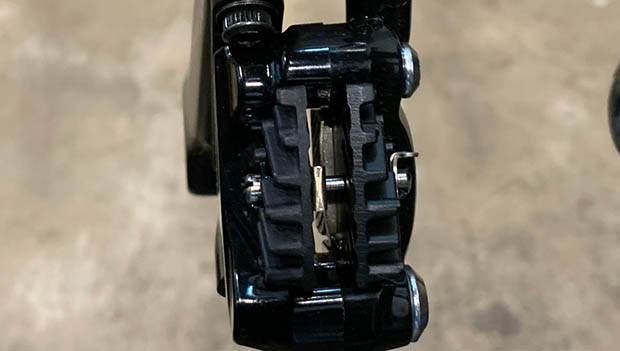
Inspection
If you have hydraulic disc brakes, inspect the pistons that squeeze the brake pads into the brake rotor for any oil leaks. If you spot any brake fluid or a leak, this is a good opportunity to visit your local bike shop and ask for help. Those with mechanical disc brakes will not have to worry about oil leaks.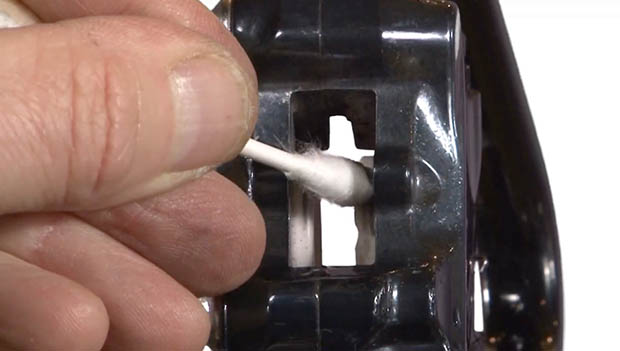
Dusty
Using a cloth with ample rubbing alcohol applied, clean the inside of the caliper mechanism thoroughly. Use a Q-Tip to reach hard-to-reach brake caliper pistons. Do not use any cleaners or solvents as they can harm brake internals, degrade brake performance and impede functionality.
Pry Those Pistons
With a tire lever pry the pistons apart, driving them back into the brake mechanism. This will force any hydraulic fluid back into your brake lines and give room for the new pads to be dropped into the caliper mechanism. If you have mechanical disc brakes, you will not have to do this.
Side-Specific
Disc brake pads are material- and side-specific, and are marked left or right. Make sure to replace your existing brake pads with same type of pad you're removing. Pads are always oriented in the brake mechanism from the perspective of sitting on your bike.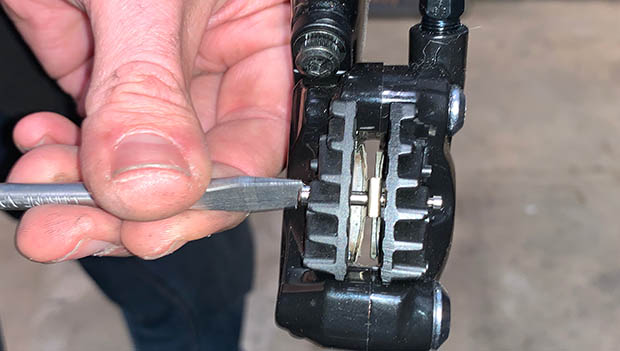
Grease and Tighten
After installing pads, lightly lube the threads of the pad anchor bolt with grease (not chain lube), and snug the bolt with just enough torque to keep it in place. If the anchor bolt had a safety clip, replace it.If you have hydraulic brakes, pump the brake lever several times to re-center the pads. If you have mechanical disc brakes, loosen the brake mounts ever so slightly, squeeze the brake lever to engage the pads against the rotor and then tighten the caliper mount (use a torque wrench and tighten to 6 nm) while the brake is engaged. This will center your brake pads.
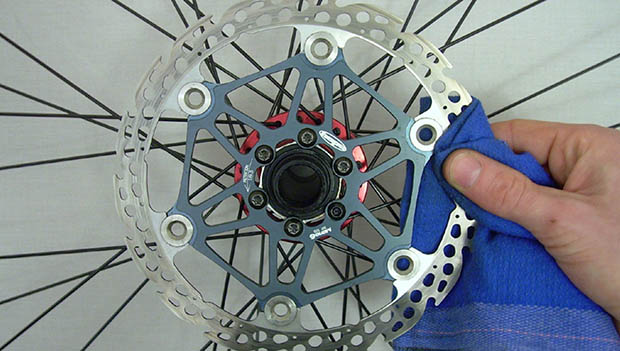
Another Round of Alcohol
Squirt some rubbing alcohol onto a clean rag or towel and wipe down your brake rotors to ensure they are clean. Goode says to wipe rotors until no dirt transfers onto a clean cloth. If there is a lot of material on your brake rotor, you can use a steel wool scrub pad to remove buildup before you wipe with alcohol. Clean rotors provide optimal braking performance.Get to Bed
"Bed in" your new pads to optimize brake performance. Take your bike outside and start riding. Once up to speed, slow to an almost-stop several times by gradually applying pressure to your brake levers. You want to deposit a fine layer of the new brake pad material onto the freshly cleaned brake rotor. This will improve braking performance.
READ THIS NEXT: 6 Daily Bike Maintenance Checks Before You Ride