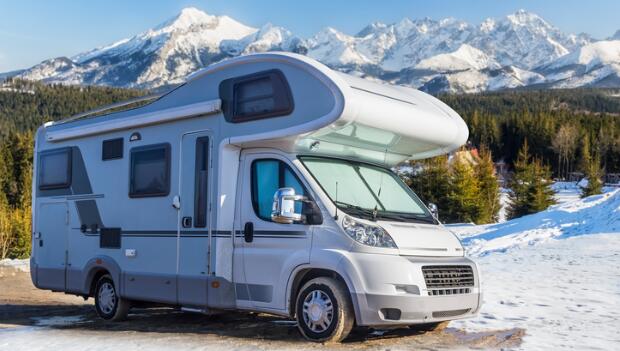
When camping season ends--at least in the snow belt states--and before the thermometer drops below freezing, it's time to get your RV ready for winter. You can always take your rig to the local RV maintenance shop, but if you're handy you can do this important task yourself. Here's how to winterize an RV.
Note: The instructions given here are general in nature and may differ for your RV. Consult your owner's manual for specifics before starting any winterizing procedure.
Drain the Plumbing System
This is the most important part of getting your RV ready for winter. Even a little water left in pipes, faucets, valves or pumps can freeze, expand, and split apart. And since most plumbing is buried inside walls and cabinets, repairs can be expensive.
Draining the water lines isn't enough; you have to purge the entire system. There are two ways to do this:
#1 Blow Out the System With Compressed Air
This is perhaps the easiest method, but it requires an air compressor and a special "blow out plug," which can be purchased at most RV part suppliers.
The major drawback to this method is that you can't be 100 percent sure that all the water has been expelled from the system.
To proceed:
- Disconnect your rig from the outside water source.
- Turn off all power in the rig. Don't forget to shut off the propane as well.
- Bypass your water heater. You do not want to drain the water heater at this time. Some RVs come with a factory-installed bypass valve. If yours doesn't, you can install a cheap kit.
- Consult with the owner's manuals for your refrigerator, ice maker, washing machine and dishwasher (if so equipped) for winterizing instructions.
- Open all faucets, including tub and shower and the outdoor shower if you have one. Then open the system drain valves and let the water empty. See your owner's manual for valve locations.
- Flush the toilet to clear any water from the line.
- Connect the "blow out plug" to the city water inlet--not the fresh water tank.
- Adjust the air compressor to no more than 30 psi to avoid damaging the water lines.
- Connect the air compressor hose to the blow out plug. Turn on the compressor and let it run until all water is blown from the faucets and drain valves. Shut off the air compressor and disconnect the blow out plug from the water inlet.
Clean and flush your black and gray water tanks, drain the fresh water tank completely, then close the drain valves. Pour one quart of special RV antifreeze into the gray and black tanks to protect the drain valves and seals. Do this through all sink and shower drains--you want antifreeze in the pipe traps as well. Add about a pint to the toilet bowl to protect its flush valve and seals.
Note: RV antifreeze is PINK.
Open the water heater drain plug/valve and empty the tank. Flush out any sediment using a water heater tank rinsing wand. Leave the drain plug open until spring.
#2 Fill the System With RV Antifreeze
A more reliable way to ensure that all water is removed. You'll need at least 2 to 3 gallons of RV antifreeze depending on the size of your rig.
There are two ways to pump RV antifreeze through the system:
a) Use an external hand pump
b) Use your RV's internal water pump. If you use the water pump, you'll need to install a pump bypass kit if it's not already equipped since it draws from the RV's fresh water tank and you don't want antifreeze in there.
If your rig has a water filtration unit, bypass it as well.
Note: Even though you will fill the system with RV antifreeze, you should still blow out the lines with compressed air first.


