
Some photographers make their craft look so easy--colors pop, mountains look like they'll grow off the canvas, wildflowers burst off the page. For the beginner outdoor photographer, however, landscapes that look impressive in person often fall flat in print.
The good news is that you don't have to spend thousands of dollars on camera equipment to get good photos. "Landscape and wilderness photography is easier now than ever before. The quality of today's digital cameras is fantastic; even the quality of images produced by a phone these days is amazing," says wilderness photographer Darren Huski.
You can always upgrade your equipment once you get more proficient, but first you need to learn how to take the right shots. Here, Huski shares four outdoor photography tips to help get you started.
1) The only gear you need is a camera, a tripod and an alarm clock.
In addition to providing camera stability, a tripod is important in a number of scenarios including times of low light, nighttime shots, action shots and close ups.
While tripods used to come in just one size, which was heavy and bulky, these days the variations are endless. Look for something lightweight and collapsible, as it will be easier to carry when tromping around outdoors.
The alarm clock, of course, is to help you get out of bed in time to catch the best light of the day.
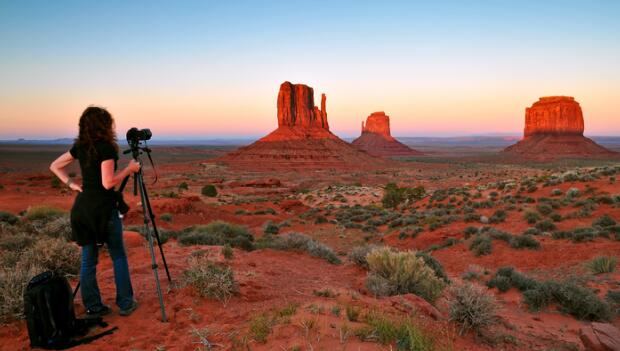
2) Get outside at the right time.
For an outdoor enthusiast, getting outside is the easy part. What matters more is getting outside at the right time of day.
Sunrise and sunset offer the best lighting for outdoor photography. That's when you'll get the best images.
3) Compose carefully.
Huski recommends that you "pick a good main subject and then move it around the frame." Experiment with how things look from different angles. Physically move yourself and the camera around to see what moves into or out of the frame. Don't only move right and left, but get tall by standing on a tree trunk and get lower by squatting down closer to the ground.
A popular concept in photography is the "rule of thirds" in which your scene is divided into nine equal parts by two horizontal and two vertical lines. If you line up your subject--a tree, an animal, the sunset--at the intersecting points, it creates a more interesting photo than if you were to center your subject.
A few other composition tips:
- If you have a single subject, make sure the background isn't too distracting.
- Add depth by including objects in the foreground.
- Avoid putting the horizon in the middle of the frame.
"If there are great clouds in the sky try to include them," says Huski. "If it's a clear day, include only a little sky or even no sky."
4) Be prepared for a lot of mistakes when taking nighttime images.
Starry nights, the aurora borealis, harvest moons--these are the iconic nighttime shots that inspire you to set up the tripod at midnight. But Huski warns that these are difficult images to do right.
Follow these steps if you want to give it a shot:
- Use a tripod.
- Use manual focus; autofocus doesn't work in the dark.
- Focus on a good light source. Huski uses his headlamp by placing it about 15 feet away as a target.
- Once the headlamp is in focus, confirm that autofocus is still off.
- Point the camera at the stars and take long exposures.
Huski says most cameras will top out at 30-second exposures. If you have a DSLR, you can do hour-long shots using a remote and the bulb mode.
"Be prepared for many mistakes," Huski warns. "But when it works the images are awesome."
If you're the technical type who enjoys the photo editing process, consider getting a camera that shoots RAW files. "That gives you more options back at the computer," Huski says.
But before you get too technical, heed Huski's most important outdoor photography tip: "Just get a camera and go have fun."
 Book your next camping trip